Save-The-Dates
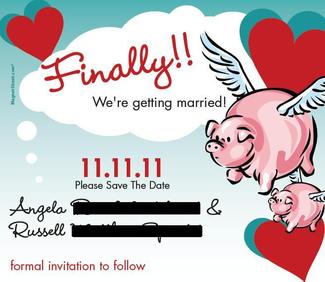
Photo Sharing Cards

Free! From visaprint.com
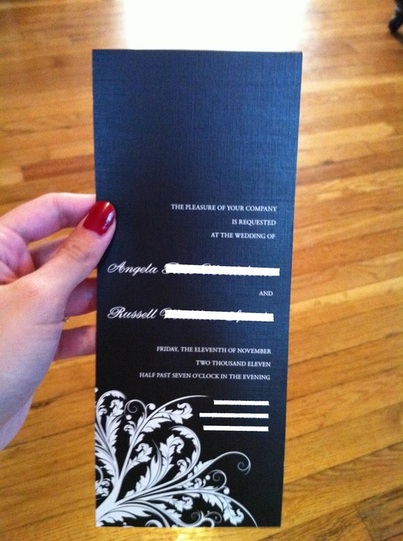
Invitations

Invitation DIY Project
It started here
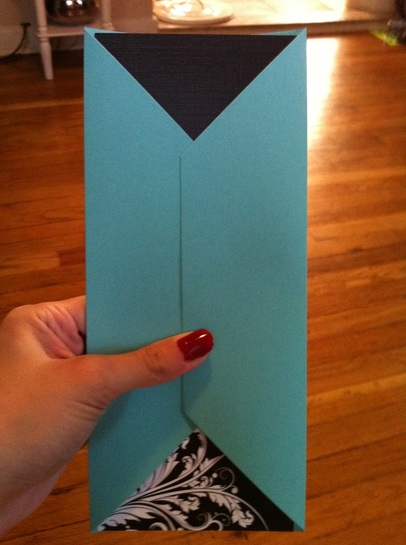
Then here
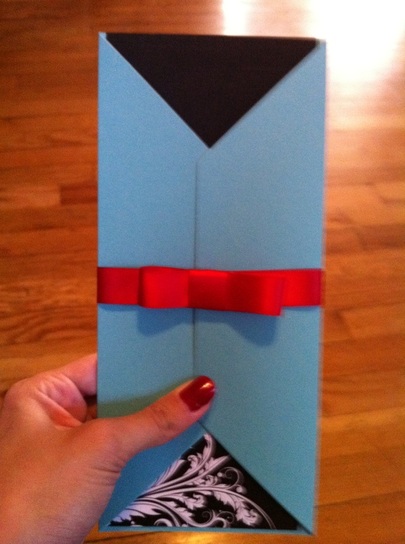
And finally here
Here's how I did it...
Supplies
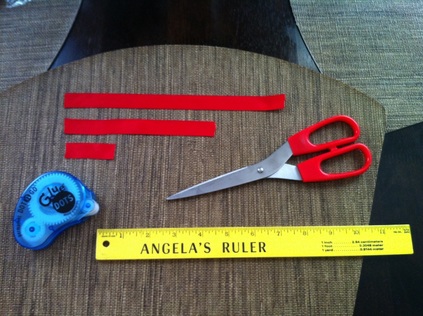
(Ruler, Glue Dots, Scissors, 9'' Ribbon, 6'' Ribbon, 2" Ribbon)
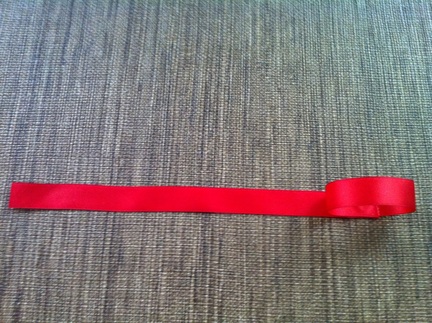
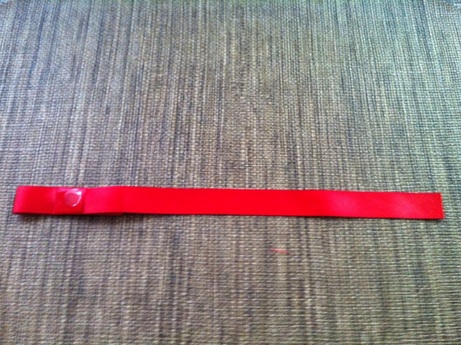
Step 1.
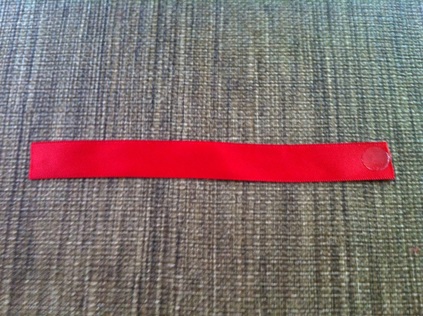
(Put Glue Dot on one end of the 6" ribbon)
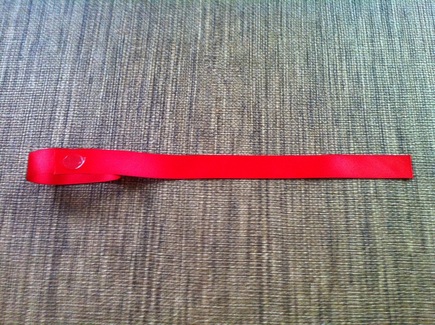
Step 2.
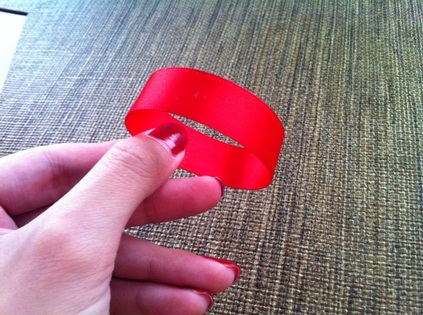
(Glue the two ends of the 6" ribbon together)
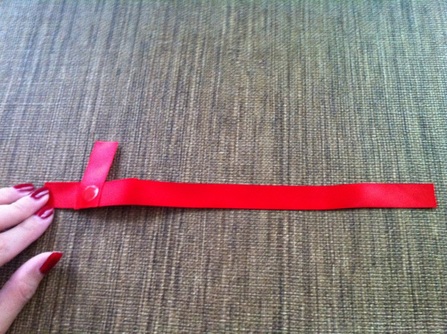
Step 3.
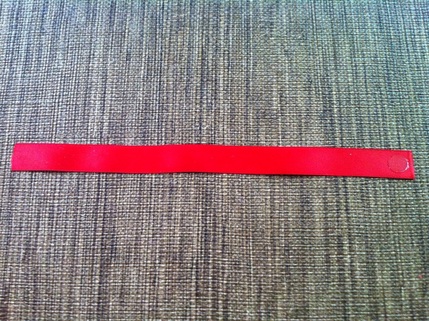
(Put a Glue Dot on one end of the 9" ribbon)
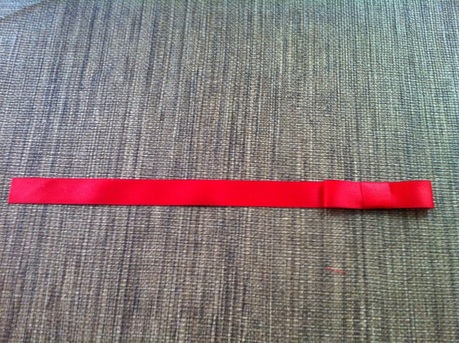
Step 4.
(Glue the 6" ribbon onto the 9" ribbon)
Step 5.
(Put a Glue Dot on the back of the 9" ribbon)
Step 6.

(Glue the 2" ribbon onto the 9" ribbon)
Step 7.
(Put a Glue Dot on one end of the 2" ribbon)
Step 8.
(Wrap the 2" ribbon around the front of the 9" ribbon and glue the two ends of the 2" ribbon together)
Step 9.
(Put another Glue Dot on the back of the 9" ribbon)
Step 10.
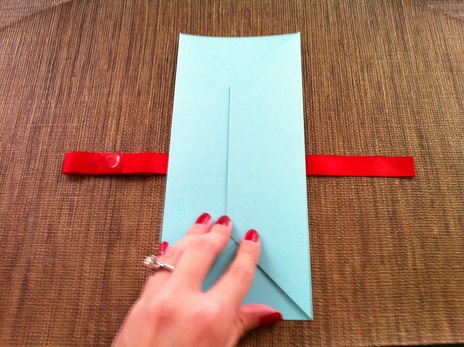
(Place the invitation jacket on top of the ribbon)
Step 11.
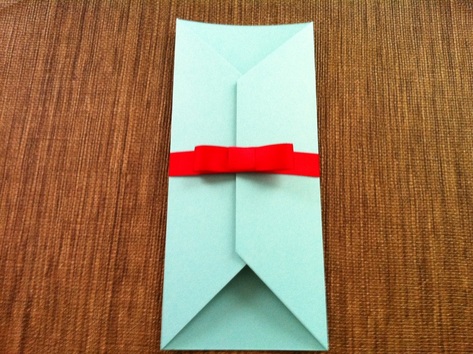
(Wrap the ribbon around the invitation jacket and glue the two ends of the ribbon together,
and then you get the finished product)
and then you get the finished product)
I got this idea from the following link, which shows more detailed instructions (I just replaced the 11" ribbon with a 9" ribbon because my invitations are tea length):
http://bellsandbouquets.blogspot.com/2010/02/step-by-step-ribbon-belly-band-tutorial.html
http://bellsandbouquets.blogspot.com/2010/02/step-by-step-ribbon-belly-band-tutorial.html
